Adding Specflow to a Visual Studio project
I’m using Visual Studio Community 2015 and want to write some acceptance tests - here are the quick steps to get started. Most of these can be found on the SpecFlow getting started page.
High level steps
- Install a Visual Studio Plugin so you don’t have to write too much SpecFlow glue code
- Write your features and steps
- Run your tests in your favourite test runner
Detailed steps
-
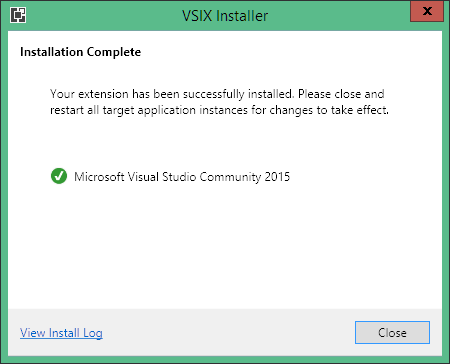
Install SpecFlow for Visual Studio This is a .vsix extension for Visual Studio 2015. There should be a version for your Visual Studio. This adds shortcuts such as feature files and custom tools, which means when you change your feature files, your feature.cs files are automatically generated upon each build. If you don’t have this, you’re probably going to have a long process of manually creating those files instead.
-
Restart Visual Studio after the install so you get all the tools from the SpecFlow extension
-
Create a test project and install the SpecFlow nuget
powershell
Install-Package SpecFlow.NUnit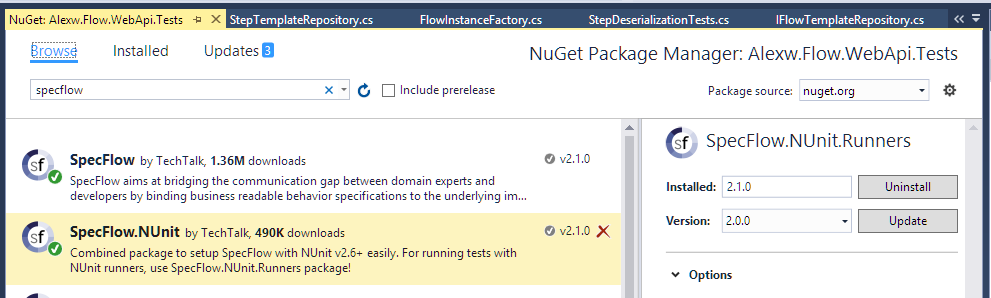
-
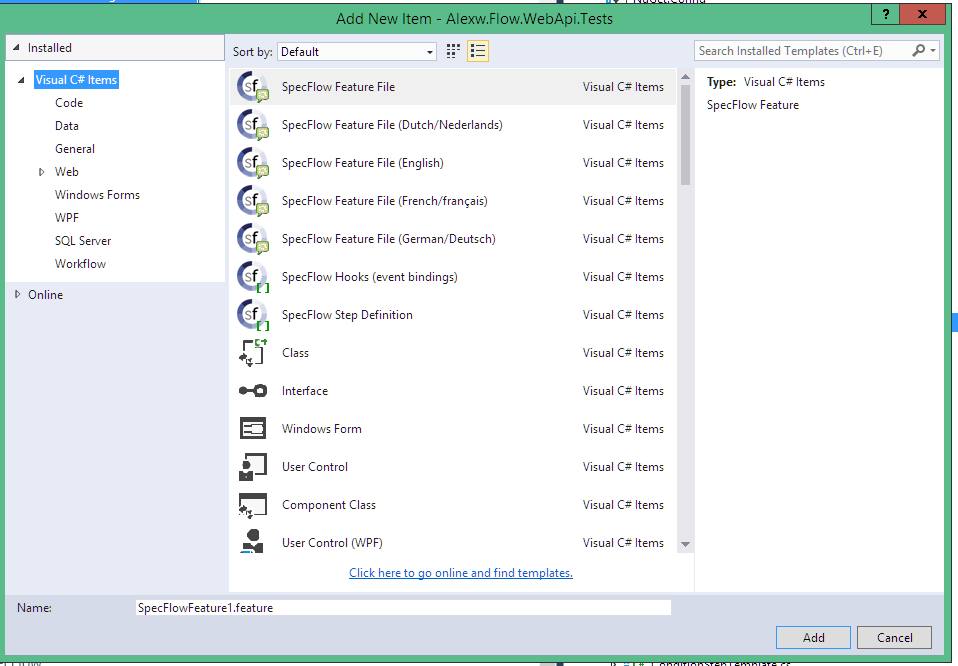
Add a new .feature file to describe your feature in Cucumber language syntax. Right click and choose Add Item. Choose “SpecFlow Feature”. These templates were added by the .vsix Visual Studio Extension.
When you add the item, you’ll see the feature file has been added, along with it’s glue - the .feature.cs file. This file is generated automatically by SpecFlow and joins the feature file to the any separate files. This file is generated at each build (or when you click Run custom tool on the .feature file), so don’t put your code for your steps in here, instead create another file.Here’s my example .feature file:
Feature: InstancesFromTemplates
	In order run new flows
	As a user
	I can create a new flow instance from a flow template

Scenario: Do something example
	Given I setup something
	And I setup something else
	When I do an action
	Then I check the result
- Create a file for your steps. This is going to be a blank C# file with a [Binding] attribute on top so SpecFlow can discover it.
using TechTalk.SpecFlow;
namespace Flow.WebApi.Tests
{
    [Binding]
    public class Steps
    {
        // steps will go here
    }
}-
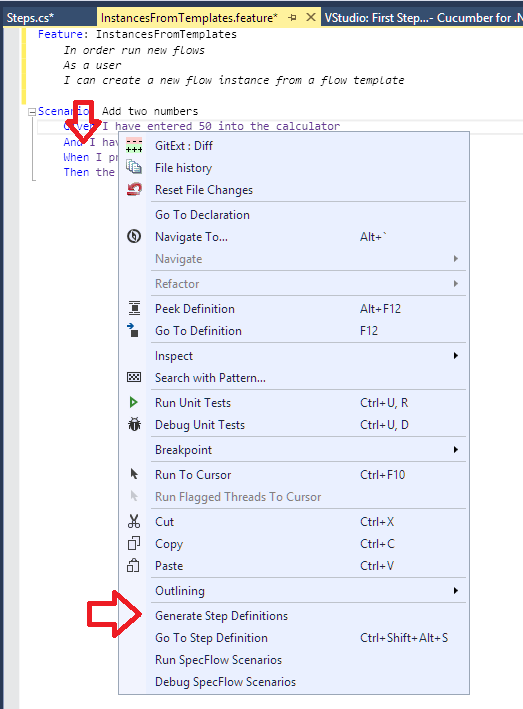
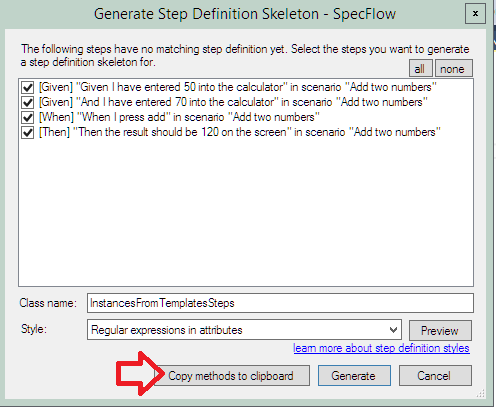
Write a few steps in your feature file and generate the steps by right clicking the feature lines in the .feature file and clicking Generate Step Definitions.
-
Copy the generated steps into the clipboard and paste them into the Steps.cs file.
-
Your steps file will look like this:
using TechTalk.SpecFlow;

namespace Flow.WebApi.Tests
{
    [Binding]
    public class Steps
    {
        [Given(@"I setup something")]
        public void GivenISetupSomething()
        {
            // setup
        }

        [Given(@"I setup something else")]
        public void GivenISetupSomethingElse()
        {
            // setup something else
        }

        [When(@"I do an action")]
        public void WhenIDoAnAction()
        {
            // act
        }

        [Then(@"I check the result")]
        public void ThenICheckTheResult()
        {
            // assert
        }
    }
}
- Now when you rebuild, because you’ve got a Specflow [Binding] attribute on that class which makes it discoverable, your steps will be hit and your tests will be run in your runner.
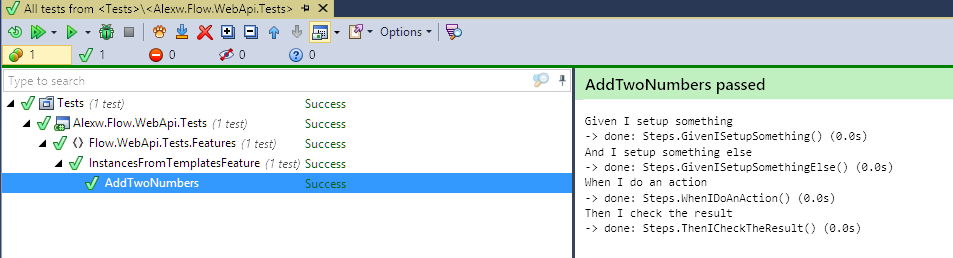
Rebuild your project, and run your tests: